Configuration Quickstart
Prerequisites
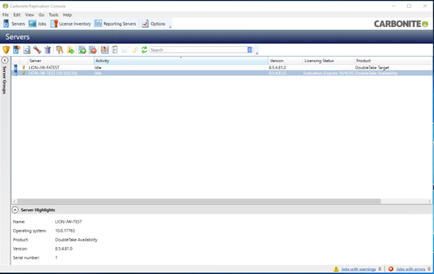
Before completing these steps, ensure that you have followed the Design Considerations and Installation steps to prepare your Management Console Virtual Machine, as well as source and target workload machines. Also, ensure that you are now working on the Management Console virtual machine, and have the Console application open and you are at the main page of the console:
Step 1: Adding Servers to the Console
To add new Servers, both Source, Target, and Failover Target to this Console, click on the Add Server button: 
You will be presented with a new window, which provides you with two options for adding servers: Manual Discovery and Automatic Discovery.
- Manual Discovery (Recommended) will require you to enter the IP address of the machine you wish to add, along with appropriate credentials.
- Automatic Discovery will leverage Active Directory to locate systems. Note that this requires your Management Console to be joined to the domain.
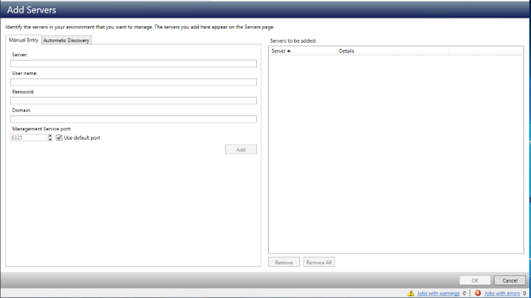
Multiple servers can be added manually at the same time. Simply enter each address and other required information in the fields, and then click the Add button. This will add the machine to the list of servers being added to SyncSafe Replicate Replicate on the right hand side of the window.
Warning
Servers must be reachable by either Hostname using DNS or by IP address. Servers cannot be added to the SyncSafe Replicate console prior to being in or added to an environment.
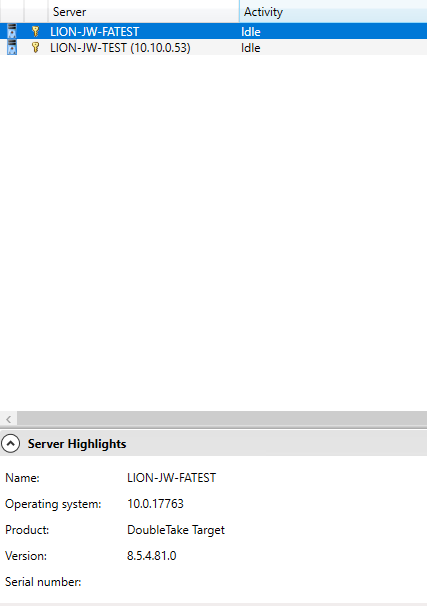
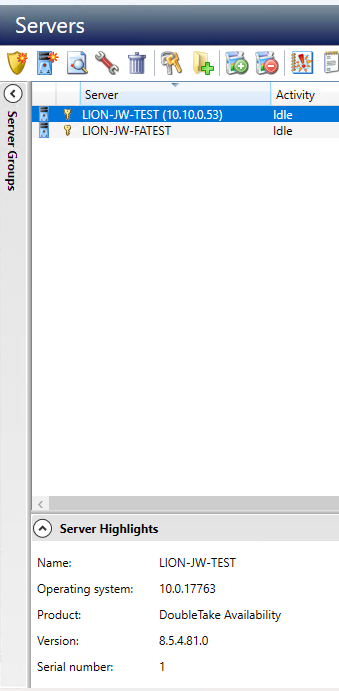
Once you have added all of the appropriate servers, click OK. This will return you to the main console view, and the servers should show in the list of machines like so:
Note
Only Source Servers consume licenses. Replication Target machines will not consume a license, and cannot be used as the source for a protection job.
Step 2: Adding Licenses to the Console
Before we can continue with the configuration, and now that we have our servers added, we need to add licenses for our workloads. To do this, locate and click on the "License Inventory" button at the top of the console window: 
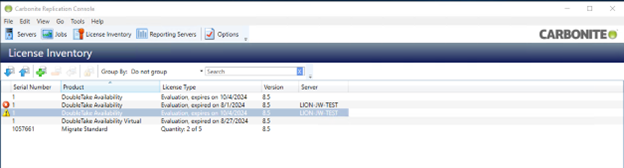
This will bring us to our list of available licenses. The list will show which version of the product the license applies to, the type of license, when it expires, and the number of licensed seats are currently being consumed:
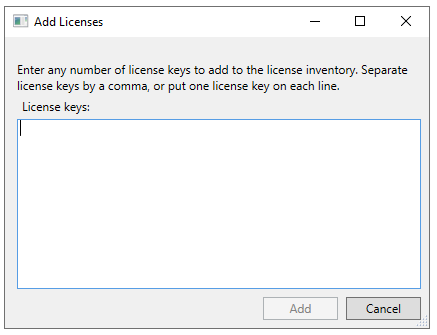
To add a new license, locate the Add Licenses button at the top of the screen and click:  This will present you with a pop-up window prompting you to enter your license keys:
Note
Please refer to the details provided to you by US Signal for your License Key. If you have any difficulties with your license, please contact your account rep for assistance.
Once you have entered all of the appropriate licenses to the console, click the Add button. Your new licenses will appear in the list of available licenses, though they may require activation via an internet connection, so ensure that your management console system has internet connectivity. Other options for activation are discussed in the Server Properties Explained page's Licensing section.
Step 3: Adding Licenses to Replication Source Servers
Now that we have available licenses, we will need to assign them to the individual Replication Source servers, which we will find on the Servers tab of the console, which is accessible by clicking the Servers button in the upper left corner of the console window: 
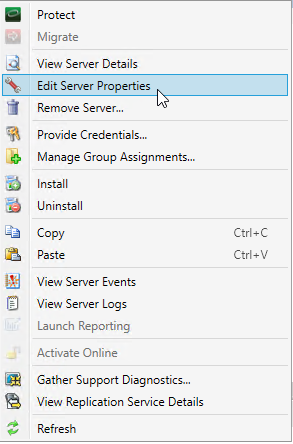
Our next step will be to select one of our source machines from the list, right click, and select Edit Server Properties:
In the Server Properties window that comes up, locate the section with the heading Licensing:
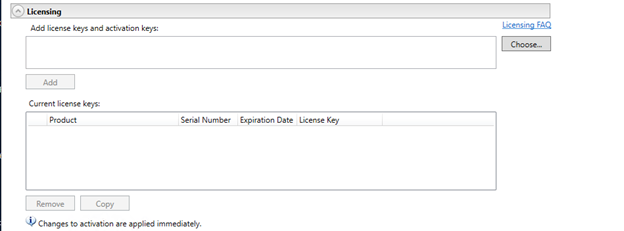
Click "Choose" on the right hand side, which will present you with a window containing your available licenses to assign:
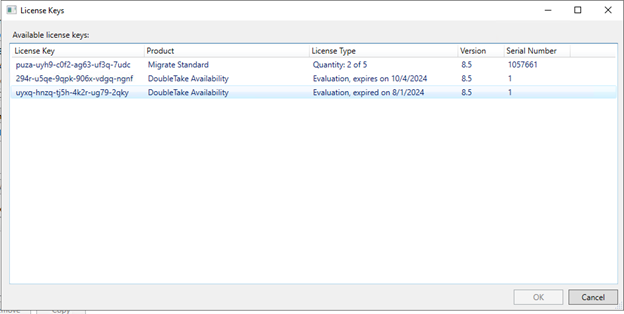
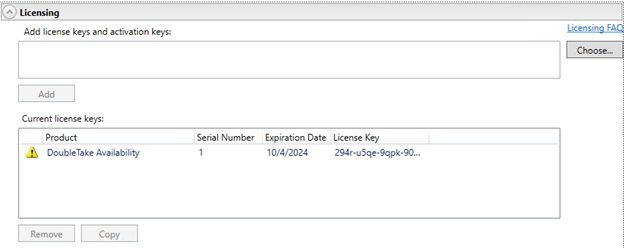
Select the license that you wish to add to the server and click OK. Note that this license will appear in the Server Configuration screen under the "Licensing" heading in the top box titled "Add license keys and activation keys:"...

and the "Add" button will now be available. Clicking Add will assign the license to the machine, and will now appear in the "Current License Keys" field:
Once this is complete, click "OK" in the lower right corner to save the changes to the server. In the list of servers, the server will now show with a key icon next to it, indicated that it is licensed:
Note
Target servers are unlicensed.
For a full explanation of the options available in the Server Properties