Installation
Preparation
- Ensure that you have downloaded the latest version of the client.
- Have a dedicated Virtual Machine prepared to use as a management console. Note: This installer will need to be run on all Source, Target, and Failover Target Virtual Machines to be protected by SyncSafe Replicate.
- Before completing the installation on either the source or target Virtual Machines, ensure that you have completed the installation steps on the management Virtual Machine.
Terminology
As used in this guide, the term 'Client' refers to the management console used to manage replication jobs and servers. 'Server' refers to the agent that will be placed on the source and target Virtual Machines used in replication.
Installation
- Run the Installer either as a Local Admin or as a Service Account that has been created to run the Service. SyncSafe Replicate recommends using a Local Admin account. Have the Customer take note of this account username and password as it will be used to register the Virtual Machine in the Console.
- When the Window appears asking if you want to install SyncSafe Replicate Availability, click Yes.
- The package will unpack.
-
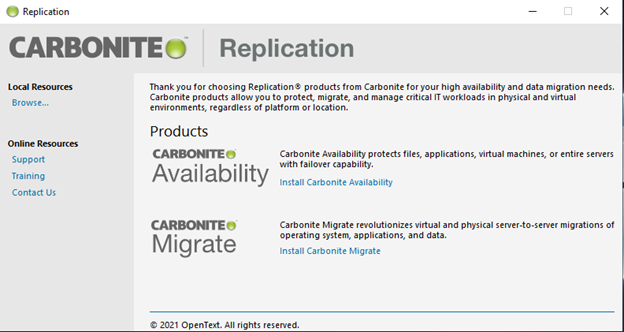
The following screen will appear:
-
Click on Install SyncSafe Replicate Availability to continue.
-
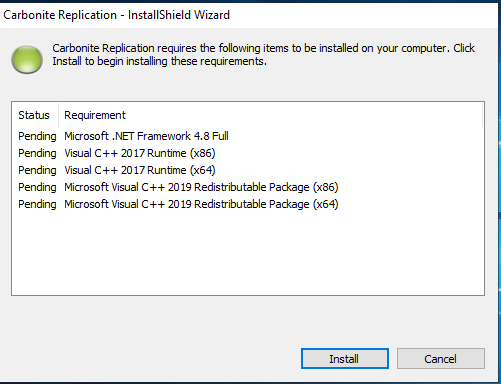
The Installer will then scan the system. It will then provide a window showing the list of required programs that it needs to run successfully.
-
Click on Install to continue.
-
The program will install the required packages. The scan may take some time, even if all prerequisite software packages are present.
-
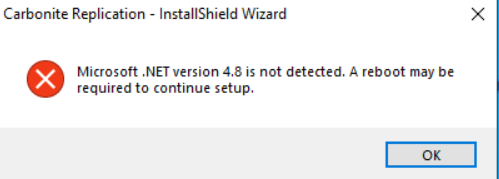
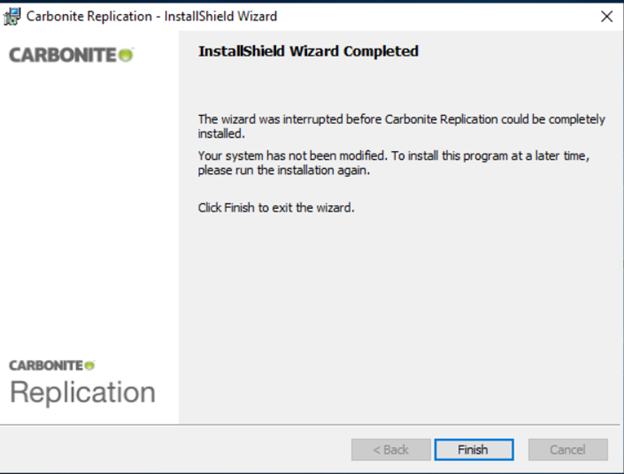
The Installer may also stop with the following warning. If this occurs, click okay, and when presented with the following screen, click finish and reboot the Virtual Machine to complete the installation of .NET.
-
Following the restart, the installation should automatically continue. If it does not, then run it again using the account that will run the Services.
-
-
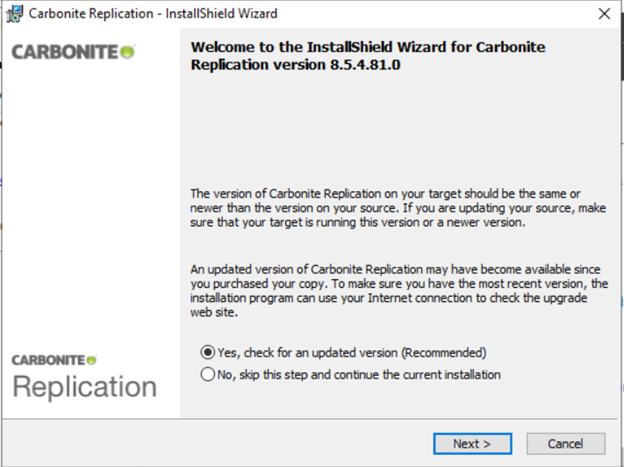
The next screen should ask if you want the Installer to check for an updated version, which is recommended. If one is available and you choose to download it, a new window will be displayed asking you where to save the package.
-
Following the completion of the download, run the new version package to continue the installation. Note: versions may always be updated upon completion of the installation.
-
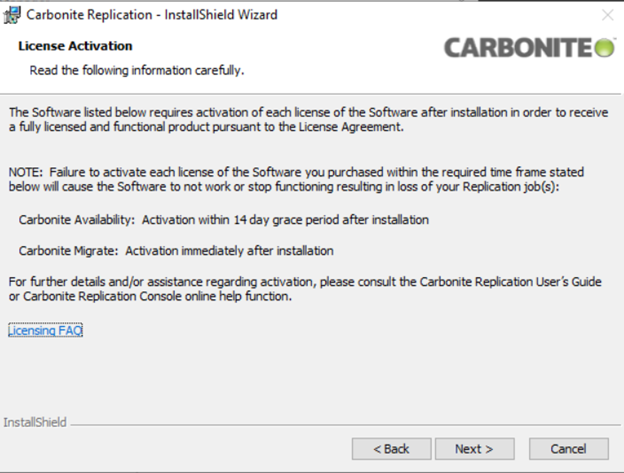
The next step asks for License Validation. This step may be skipped as licenses will be added to the console after the completion of installation.
-
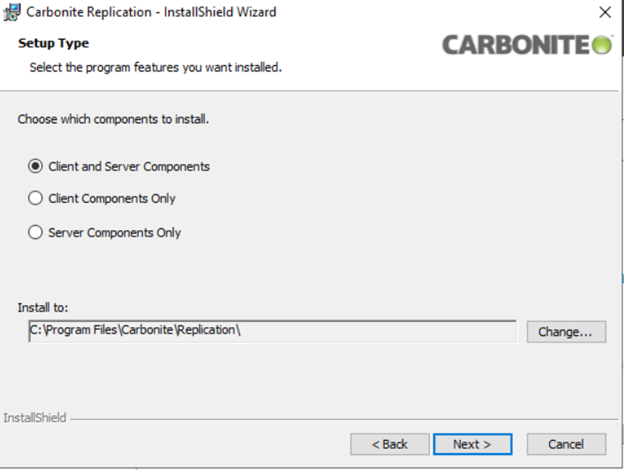
The next step determines what software will be installed. There will be three choices.
- The first installs both the Console and the Services needed to replicate data from the source.
- The second installs the Client, or Console, services only.
-
The third installs the Server, or Agent, services only.
-
For most protected workloads, only the server components are required. For the Management Console Virtual Machine, install the Client components only.
-
If installing just the Client/Console Components:
- Click on Client Components Only
-
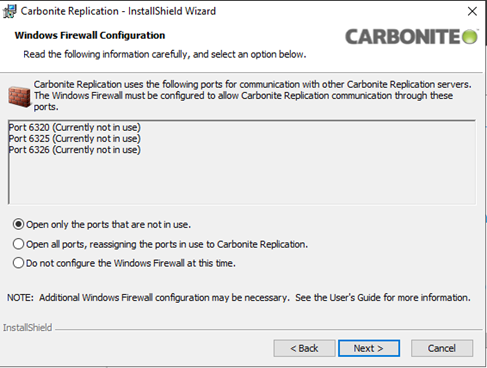
A new window will open. It will scan the Windows Firewall and offer to add rules to allow for Ports that are needed for SyncSafe Replicate Availability only if the Port rules do not already exist.
-
To minimize open Ports, select the first option.
-
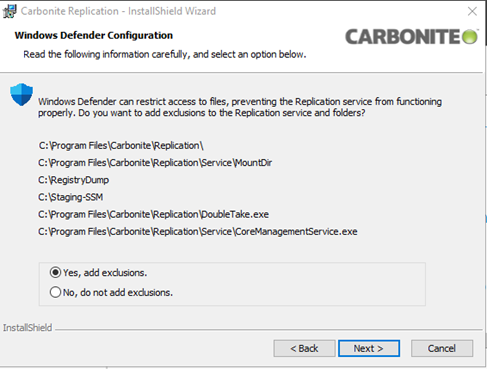
The Installer will then recommend adding exclusions for SyncSafe Replicate files to the detected Anti-Virus Platform. In this example, it is detecting Windows Defender.

-
Confirm with the Customer that these exclusions can be added.
-
The Console components will then be ready to install:

-
If Installing the Server Components/Agent Components:
- Click on Server Components Only
-
A new window will open. It will scan the Windows Firewall and offer to add rules to allow for Ports that are needed for SyncSafe Replicate Availability only if the Port rules do not already exist.

-
To minimize open Ports, select the first option.
-
The next window will be the License Key Information.
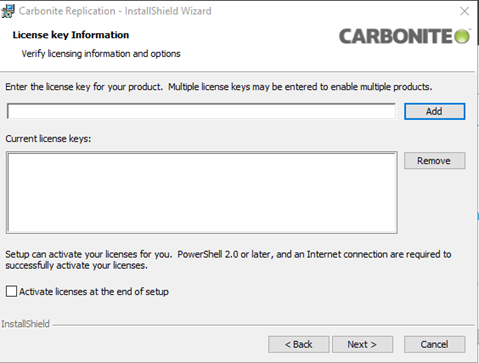
-
At this time, you do not need to add any license keys as this action will be done through the Console. Make sure that the Activate licenses at the end of setup button is unchecked.
-
The next window will define the specific parameters of the resources that SyncSafe Replicate will use for replication.
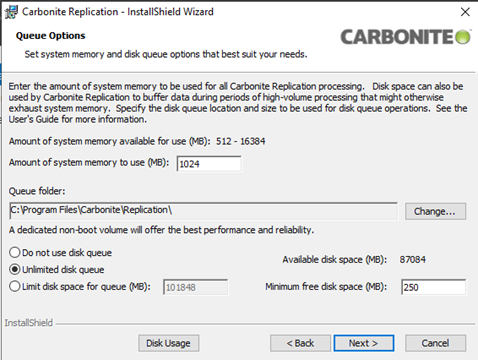
-
Define the amount of system memory to use. Memory assigned to the SyncSafe Replicate components will be used for caching and processing data for replication, so for larger servers/data sets, a higher amount of memory is recommended..
- Define the Queue Folder for SyncSafe Replicate to use. This folder will be used to store replication data when the assigned system memory is exhausted. It is Best Practice to use disk queuing for replication. The Queue folder should be created on a non-boot disk and it should be assigned during this step.
- The disk queue can also be limited to a specific amount of space. If a dedicated replication queue disk is used, no limitation on space should be set. This option will allow the use of all the space on the assigned disk where the folder is located. To limit space, choose Limit disk space for queue (MB) and specify a limit to the disk space. The option for Minimum free disk space (MB) will specify how much space will be left on the disk for use by other programs or storage.
- The Disk Usage button shows each disk on the Virtual Machine and the total space of the disk as well as the space used.
-
Here is an example configuration once completed:
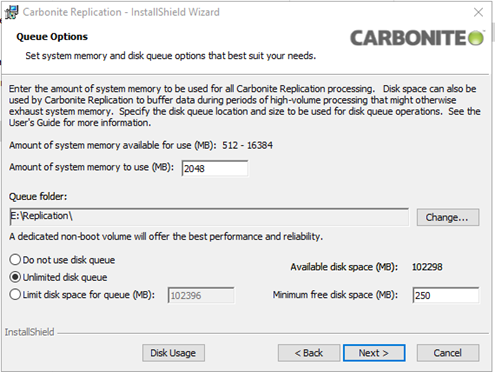
In our example, we configured a separate Replication folder on another drive for the Queue Folder and assigned SyncSafe Replicate 2 GB of RAM for use. Because a dedicated disk was used, we selected Unlimited Disk Queue for performance. This may not be optimal for all use cases, especially high-IO workloads.
-
After these options are set, the next screen will display the new Security Groups that SyncSafe Replicate will configure on the Virtual Machine
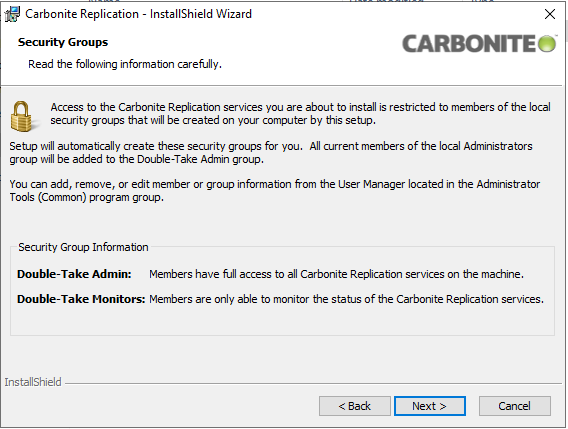
This window displays the new Security Groups as well as their permissions. All members of the local administrators group will be added to the Double-Take Admin group. Members can be added or removed from these groups if needed.*
Note
A user inside the Double-Take Admins group is needed to authenticate the Virtual Machine to the Console. If this user’s credentials expire, the Virtual Machine will no longer register with the SyncSafe Replicate Console.***
-
The Installer will then recommend adding exclusions for SyncSafe Replicate files to the detected Anti-Virus Platform. In this example, it is detecting Windows Defender. Note these exclusions for addition to any other existing antivirus or EMR software that you may be using.
-
The Console components will then be ready to install:

-
Once the software is done installing, confirm that the following Services have been configured and are running:

-
Confirm that the following Groups have been configured in Computer Management > Local Users and Groups > Groups:

-
Once these items have been confirmed, the Virtual Machine is ready to be added to the SyncSafe Replicate Console.
- If you are installing the Console on the Virtual Machine, the Installer should create a Console shortcut on the desktop. Double click on it to launch the console itself.